I’ve documented in another post (How I compose images) the things that happen before I start work on the canvas, so here’s what happens next.
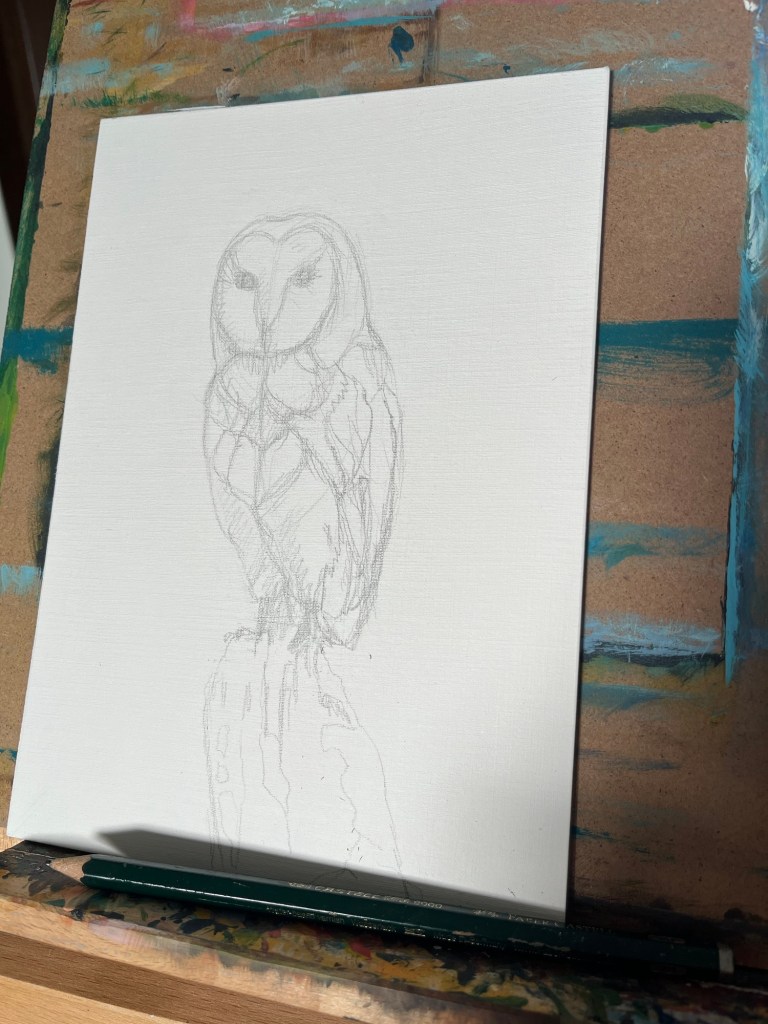
First I sketch out the image – I take a bit of time over this, as it’s much easier to make corrections at this stage!
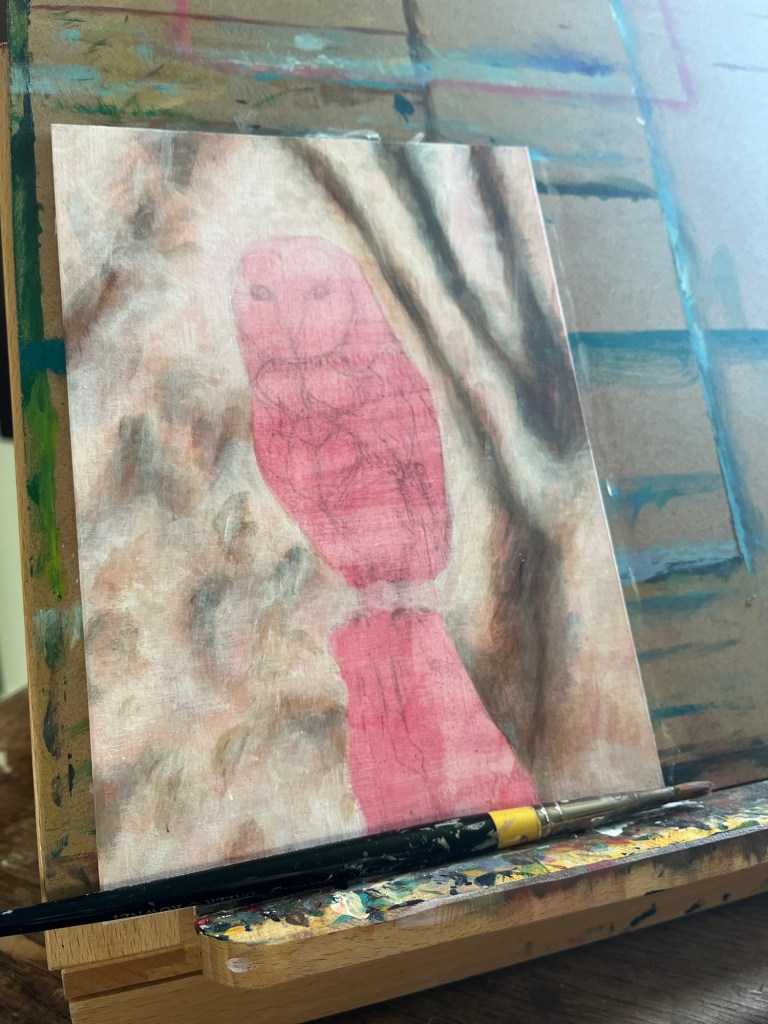
I like to put a wash of colour over the whole canvas – it’s better than looking at blank white! In the example below it’s red, but it can be any colour. Although this layer is completely covered over, I always feel a bit of the colour peeps through in the final image, so I choose it carefully with the ending mind.
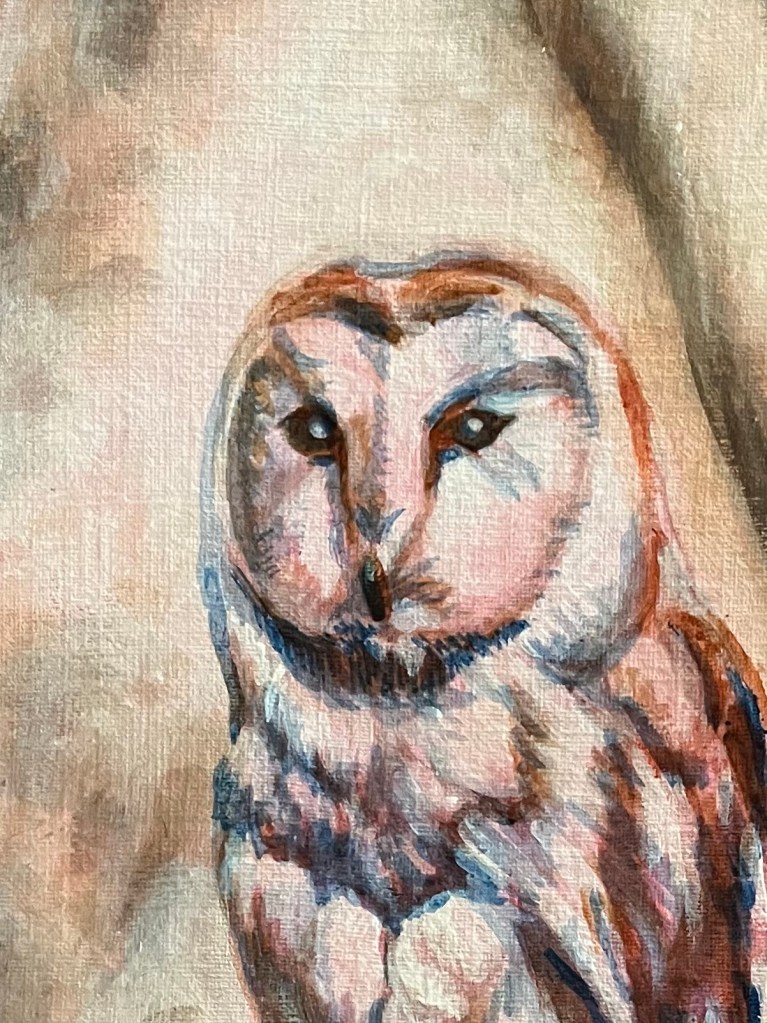
Then it’s a case of building up the image, layer by layer, getting gradually more detailed. Some layers can be thicker than others, some are just a faint wash of colour that adds shadow or glow.
Once I get to ‘nearly finished’ I tend to stop for a bit to have a day or two to just reflect. Usually there’s something not quite right at this stage, and usually it takes a bit of time to figure out what!
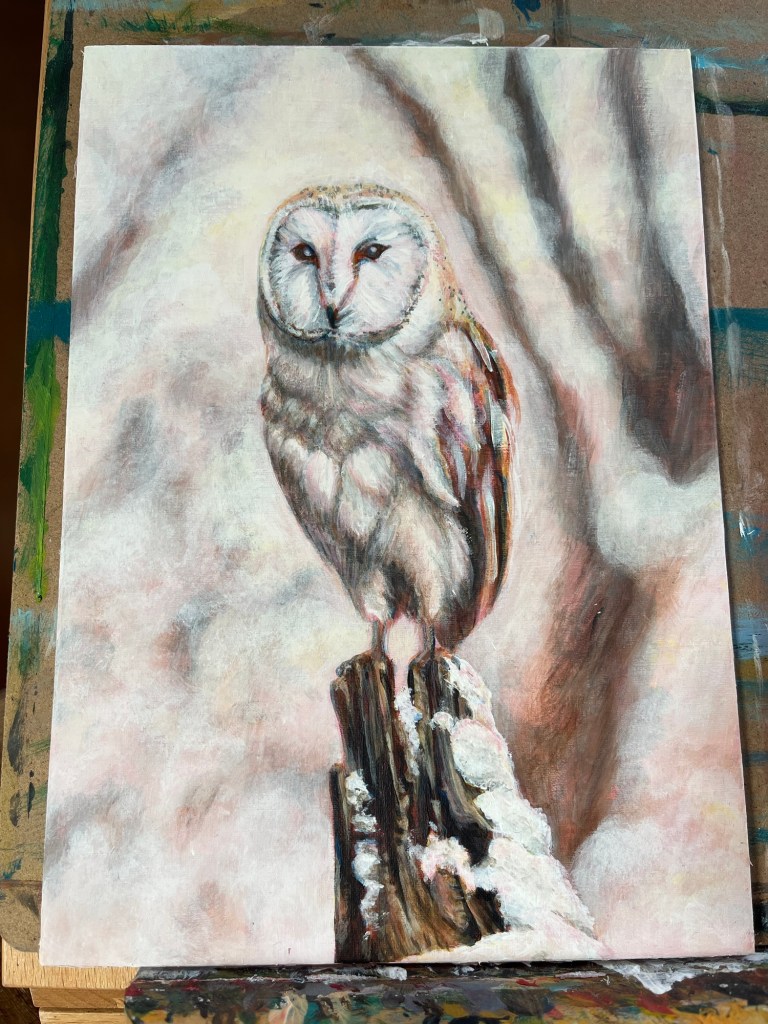
Then, it’s the finishing touches. It might be some adjustments in the colours and values, little highlights and details that make it all come together.
I hope you enjoyed reading about my process. It’s by no means the only way to approach painting with acrylics, but it’s one that I’ve found works for me. Do you have your own approach or any tips you’d like to share?
